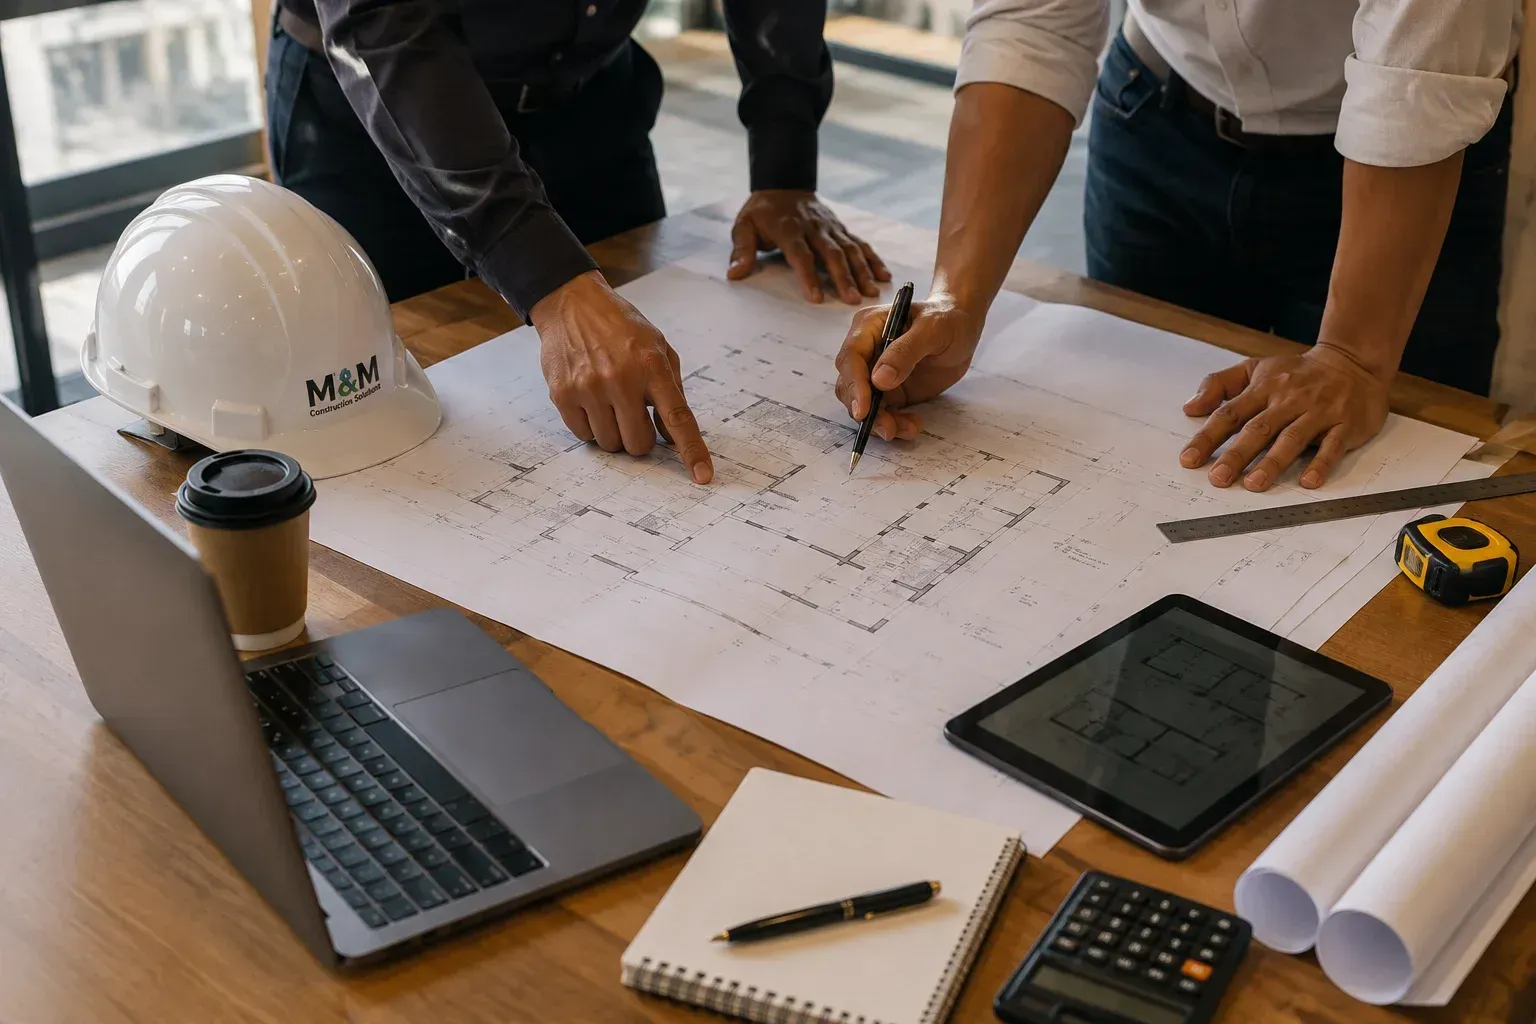
How to Install a Sump Pump Step by Step
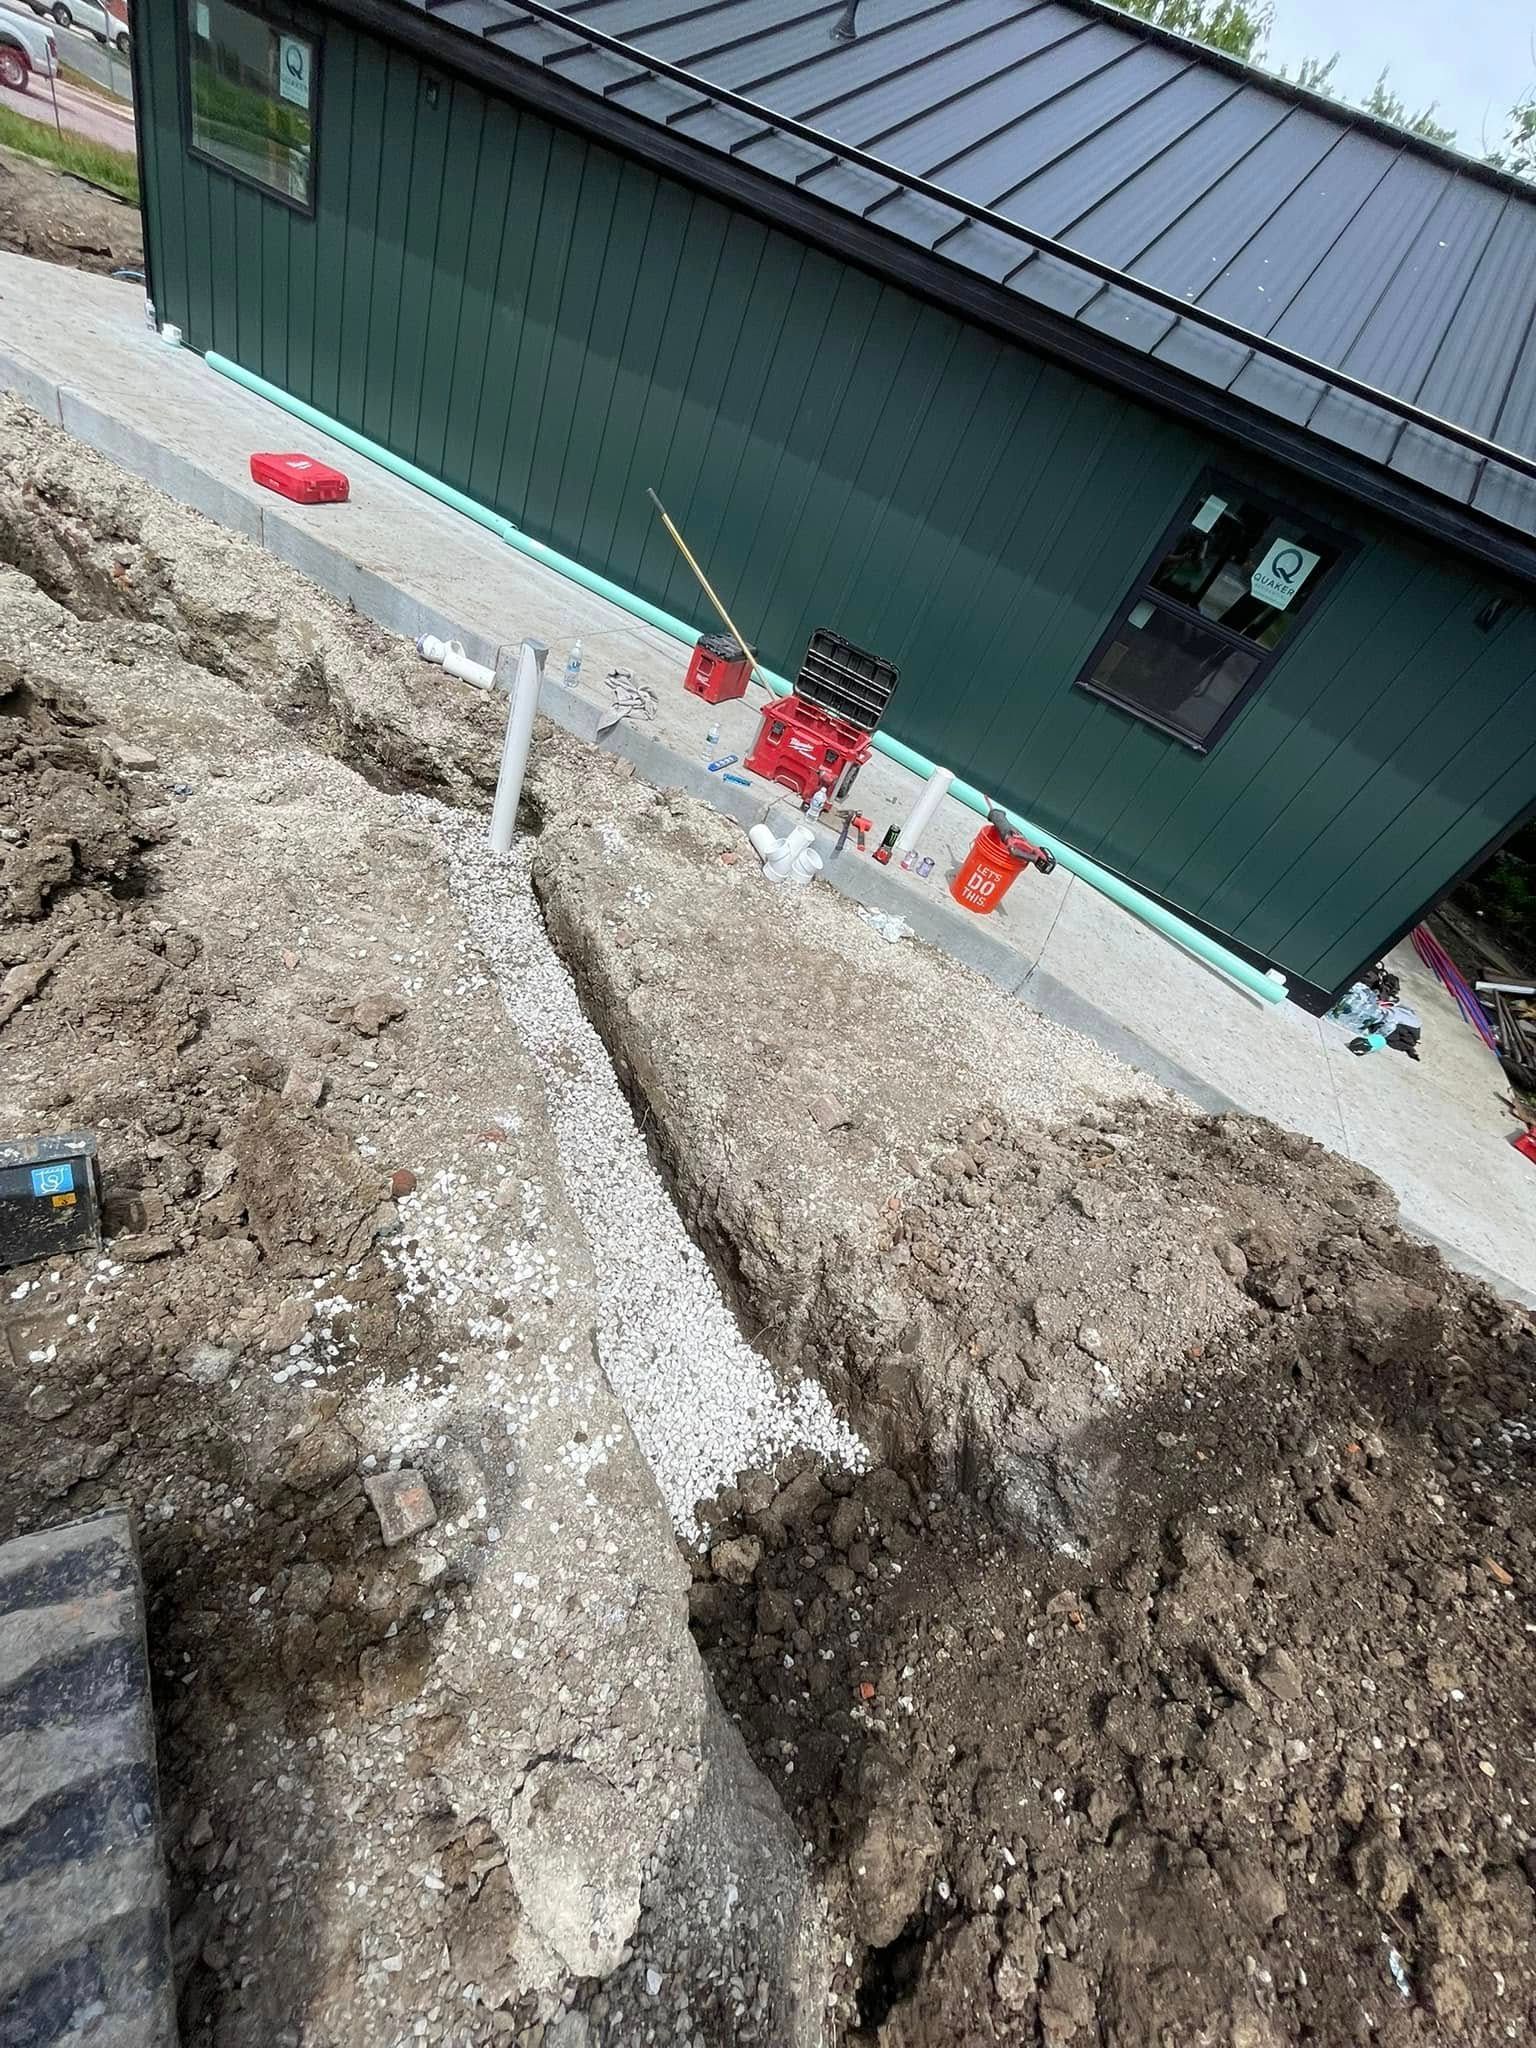
Table of Contents
- Introduction
- Understanding Sump Pumps
- Why You Need a Sump Pump
- Tools and Materials Required
- Preparing for Sump Pump Installation
- Step-by-Step Guide on how to install a sump pump
- Testing and Maintenance Tips
- Safety Considerations
- Common Mistakes to Avoid
- Conclusion
- Frequently Asked Questions
Key Takeaways
- Sump pump installation helps protect your home from costly water damage.
- Knowing how to install a sump pump allows homeowners to take control of basement flooding risks.
- Proper planning, tools, and safety measures are essential when installing a sump pump.
- Regular testing and maintenance ensure long-term reliability.
Introduction
Water damage can quietly destroy a home’s foundation, weaken structural integrity, and lead to mold growth. That is why many homeowners are turning to sump pump installation as a practical solution to basement flooding. Whether you are dealing with seasonal rains or groundwater seepage, learning how to install a sump pump can save you thousands in repairs.
This guide walks you through everything you need to know, from preparation to final testing. By the end, you will have a clear understanding of the process and the confidence to handle installing a sump pump in your home.
Understanding Sump Pumps
A sump pump is a device installed in the lowest part of your basement or crawlspace. Its main purpose is to collect and pump out water that accumulates in a sump basin, directing it away from your home’s foundation.
There are two common types of sump pumps:
- Submersible pumps, which sit inside the basin
- Pedestal pumps, which have a motor mounted above the basin
Both types are effective, but your choice depends on your space, budget, and water volume needs.
Why You Need a Sump Pump
Basement flooding is more common than many homeowners think. Heavy rains, melting snow, and rising groundwater can all contribute to water intrusion. Without proper drainage, water can pool and cause damage over time.
Here are a few benefits of sump pump installation:
- Prevents basement flooding
- Reduces mold and mildew growth
- Protects your home’s foundation
- Increases property value
Learning how to install a sump pump is not just about convenience. It is about protecting your investment.
Tools and Materials Required
Before starting your project, gather all necessary tools and materials. Being prepared will make the process smoother and more efficient.
You will typically need:
- Sump pump unit
- Sump basin
- Gravel
- PVC pipes and fittings
- Check valve
- Drill and hole saw
- Shovel
- Level
- Concrete mix
Having everything ready ensures your sump pump installation goes without unnecessary interruptions.
Preparing for Sump Pump Installation
Preparation is a crucial step when installing a sump pump. Start by choosing the right location. The ideal spot is the lowest point in your basement where water naturally collects.
Mark the area where the sump basin will be installed. Make sure it is at least 10 inches away from walls to allow proper drainage and maintenance access.
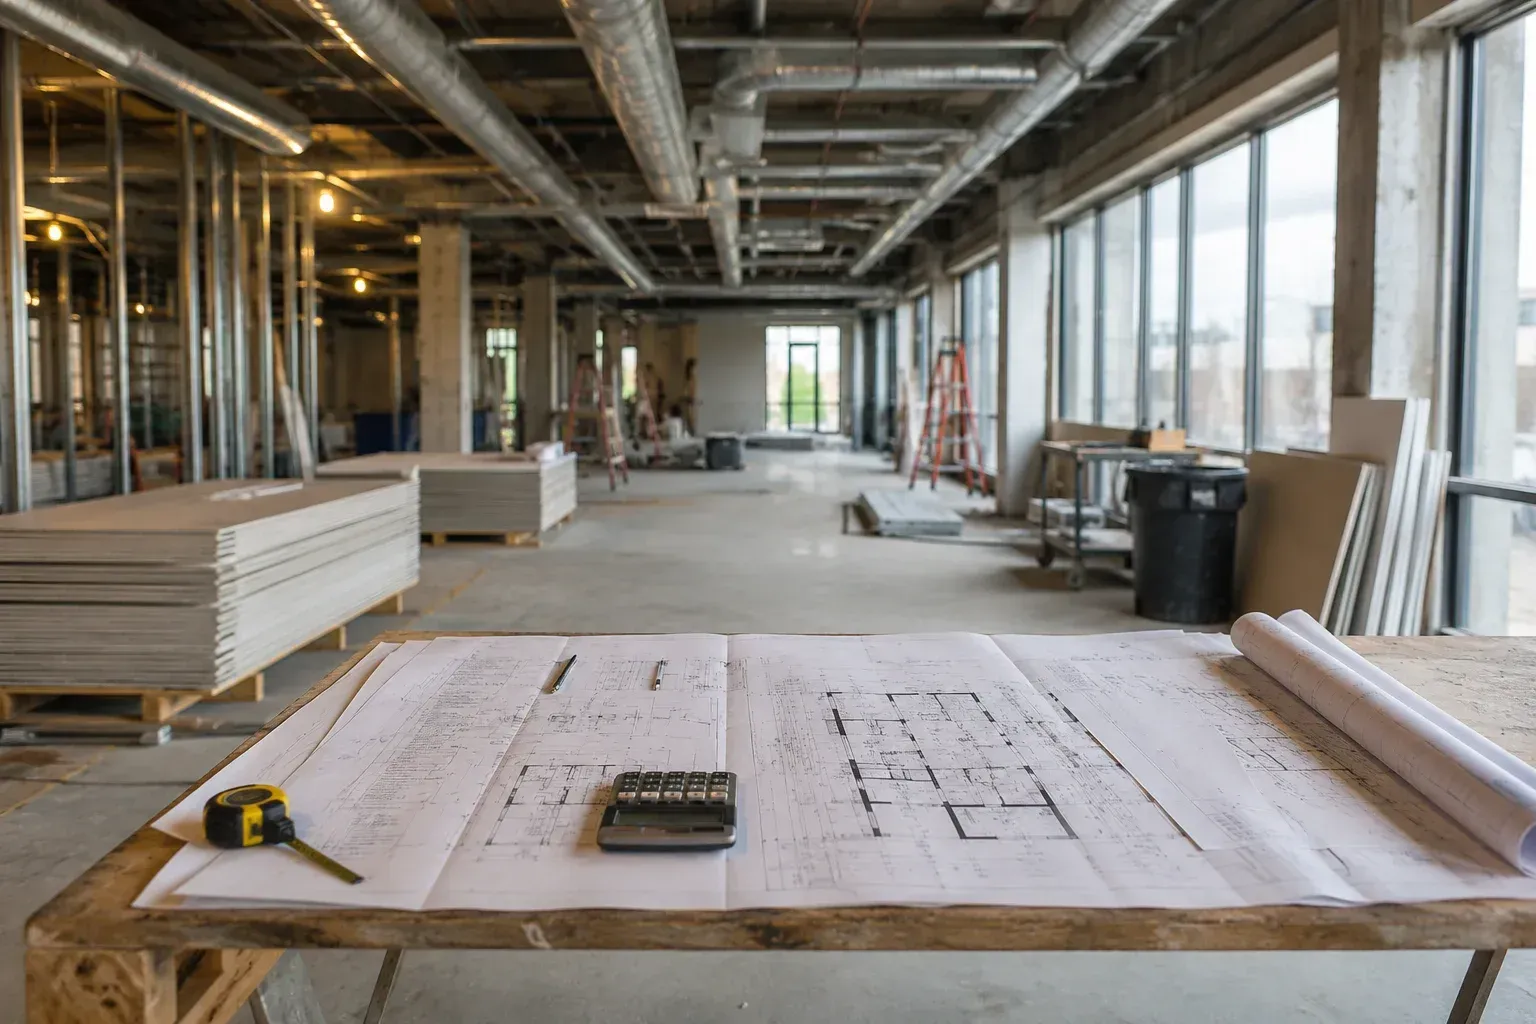
Next, check local building codes. Some areas have specific requirements for drainage systems and discharge locations.
Proper preparation lays the foundation for a successful project and reduces the chances of errors later.
Step-by-Step Guide on How to Install a Sump Pump
Step 1: Dig the Sump Pit
Using a shovel or jackhammer, dig a hole large enough to accommodate the sump basin. The pit should be slightly deeper than the basin to allow for a gravel base.
Add a layer of gravel at the bottom to improve drainage and stability.
Step 2: Place the Sump Basin
Insert the basin into the hole and ensure it is level. Fill the surrounding space with gravel to keep it securely in place.
This step is critical in sump pump installation because a stable basin prevents shifting over time.
Step 3: Install the Pump
Place the sump pump inside the basin. Make sure it sits upright and is properly positioned according to the manufacturer’s instructions.
Attach the discharge pipe to the pump using PVC fittings.
Step 4: Install the Check Valve
A check valve prevents water from flowing back into the basin after being pumped out. Install it along the discharge pipe, following the direction indicated on the valve.
This small component plays a big role when installing a sump pump, as it improves efficiency and reduces wear on the motor.
Step 5: Run the Discharge Line
Extend the discharge pipe from the pump to the outside of your home. Ensure the water is directed away from the foundation to prevent it from seeping back in.
Drill a hole through the wall if necessary and seal it properly to avoid leaks.
Step 6: Test the System
Fill the basin with water to test the pump. It should automatically activate and remove the water.
Testing is an essential part of learning how to install a sump pump, as it confirms everything is working correctly before finalizing the setup.
Step 7: Seal the Area
Once everything is working, seal the edges of the basin with concrete or appropriate sealant.
This step ensures durability and prevents debris from entering the pit.
Testing and Maintenance Tips
After completing your sump pump installation, regular maintenance is key to keeping the system functional.
Here are a few simple tips:
- Test the pump every few months
- Clean the basin to remove debris
- Check the discharge line for clogs
- Inspect the power source
Routine checks help you avoid unexpected failures, especially during heavy rains.
Safety Considerations
When learning how to install a sump pump, safety should always come first. Working with electrical components and heavy tools requires caution.
Keep these points in mind:
- Always disconnect power before handling the pump
- Use proper protective gear
- Ensure the area is well-ventilated
- Follow manufacturer instructions carefully
Taking these precautions reduces risks and ensures a safe installation process.
Common Mistakes to Avoid
Even experienced homeowners can make mistakes when installing a sump pump. Being aware of these pitfalls can save you time and money.
Some common errors include:
- Choosing the wrong pump size
- Improperly installing the check valve
- Poor drainage direction
- Skipping regular maintenance
Avoiding these mistakes ensures your system performs efficiently for years to come.
Conclusion
A well-executed sump pump installation is one of the best ways to protect your home from water damage. By understanding how to install a sump pump and following a clear step-by-step approach, you can create a reliable drainage system that keeps your basement dry.
While the process may seem technical at first, careful planning and attention to detail make it manageable for most homeowners. If you ever feel unsure, professional help is always a smart option.
For expert assistance, guidance, or professional services related to installing a sump pump, reach out to M & M Construction Solutions. Visit or contact us at (573)-415-6731 or mmconstructionsolutionsllc@gmail.com to learn more about how we can help protect your home.
Frequently Asked Questions
How do we know if we need sump pump installation?
We usually need sump pump installation if we notice water pooling, damp walls, or musty smells in our basement, especially after heavy rain.
Can we handle installing a sump pump ourselves?
Yes, we can try installing a sump pump if we have the right tools and basic skills, but for complex setups, hiring professionals is often safer.
How long does it take to learn how to install a sump pump?
Learning how to install a sump pump can take a few hours, but completing the full installation may take a full day depending on the setup.
What should we prepare before sump pump installation?
Before starting sump pump installation, we should gather tools, choose the right location, and check drainage requirements for our home.
How often should we check our sump pump after installing a sump pump?
After installing a sump pump, we should test it every few months and before rainy seasons to make sure it works properly.
Related Posts